 Skip to content
 Discover a Simple and Affordable Way to Build Your Own Pottery Wheel and Start Creating
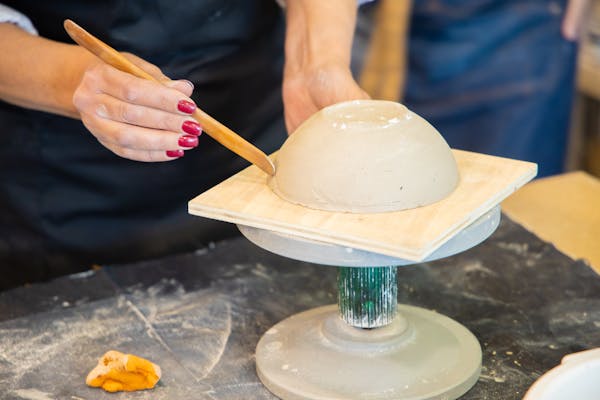
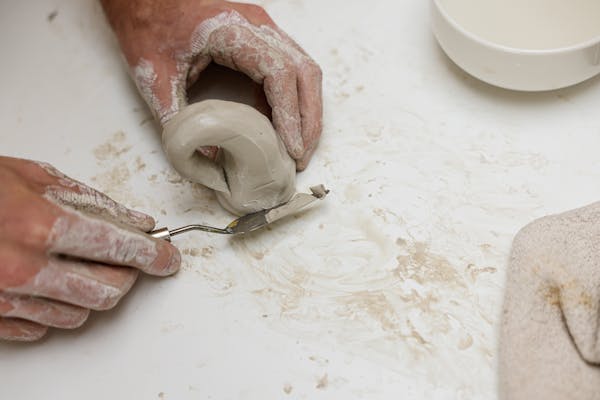
Are you passionate about pottery but don’t have access to a pottery wheel? Don’t worry! In this step-by-step guide, we will show you how to make a pottery wheel at home using easy-to-find materials. By embarking on this DIY project, you can unleash your creativity and dive into the world of pottery without breaking the bank. Get ready to explore the joy of handcrafting beautiful pottery with your very own homemade pottery wheel.
At PotteryWorkshop, we understand the importance of having the right tools for your pottery journey. While we offer a wide range of pottery wheels, we also encourage individuals to explore their creativity by building their own equipment. Our website provides valuable resources, including pottery tutorials, clay supplies, and glazes, to support your pottery-making endeavors.
Materials You’ll Need: Before we get started, let’s gather the materials needed to create your homemade pottery wheel. These materials are easily available and affordable, allowing you to begin your pottery journey right away:
- Plywood or sturdy wooden board (for the base)
- PVC pipe or metal rod (for the wheelhead)
- Bearings or lazy Susan hardware (for smooth rotation)
- Electric motor or cordless drill (for spinning the wheelhead)
- Adjustable speed controller (for controlling the wheel speed)
- Basic tools (screws, bolts, nuts, and washers)
- Sandpaper, paint, and varnish (for finishing touches)
Step-by-Step Guide:
- Design and Prepare the Base: Start by designing and cutting the base for your homemade pottery wheel. Use plywood or a sturdy wooden board to create a stable foundation. For inspiration and sample base dimensions, check out our comprehensive DIY Pottery Wheel Guide. Don’t forget to sand, paint, and varnish the base for a polished finish.
- Build the Wheelhead: Attach a PVC pipe or metal rod to the center of the base. This will serve as the axle for the wheelhead. Secure it firmly using screws or bolts, ensuring it is centered and straight for smooth rotation.
- Install the Bearings or Lazy Susan Hardware: To ensure a smooth spinning motion, install bearings or a lazy Susan hardware system on the underside of the wheelhead. These components will provide stability and ease of movement during pottery making. Refer to the manufacturer’s instructions for proper installation.
- Connect the Motor or Cordless Drill: Attach an electric motor or cordless drill to the base, aligning it with the wheelhead axle. This will provide the spinning motion for your homemade pottery wheel. Securely connect the motor or drill using screws, nuts, and bolts. Additionally, incorporate an adjustable speed controller to regulate the wheel’s rotation speed.
- Fine-tune and Test Your Homemade Pottery Wheel: Once all the components are in place, take a moment to double-check the stability and alignment of your homemade pottery wheel. Make any necessary adjustments to ensure smooth rotation and optimal functionality. Test the wheel by turning on the motor or cordless drill and adjusting the speed controller. Congratulations! You have successfully created your own pottery wheel at home.
Enhance Your Pottery Experience with PotteryWorkshop. While making a homemade pottery wheel can be a rewarding
